How to Install ReactJS on Windows?
How to Install React
Steps to Install React on Windows
Step 1: Install NodeJS
Install Node.js installer for Windows. Click on this link. Here, install the LTS version (the one present on the left). Once downloaded, open NodeJS without disturbing other settings, and click on the Next button until it’s completely installed.

Step 2: Verify NodeJS Installation
node -v
If the installation went well it will give you the version you have installed
Step 3: Install the CRA ackage
It will globally install react app for you. To check everything went well run the command
create-react-app --version
If everything went well it will give you the installed version of react app
Step 4: Create Directory for React Projects
Now Create a new folder where you want to make your react app using the below command:
mkdir newfolderNote: The newfolder in the above command is the name of the folder and can be anything.
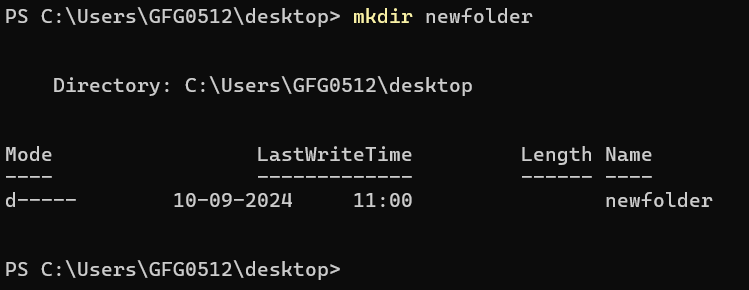
Move inside the same folder using the below command:
cd newfolder (your folder name)
Step 5: Create the React App using CRA Command
Now inside this folder run the command –>
npx create-react-app reactfirst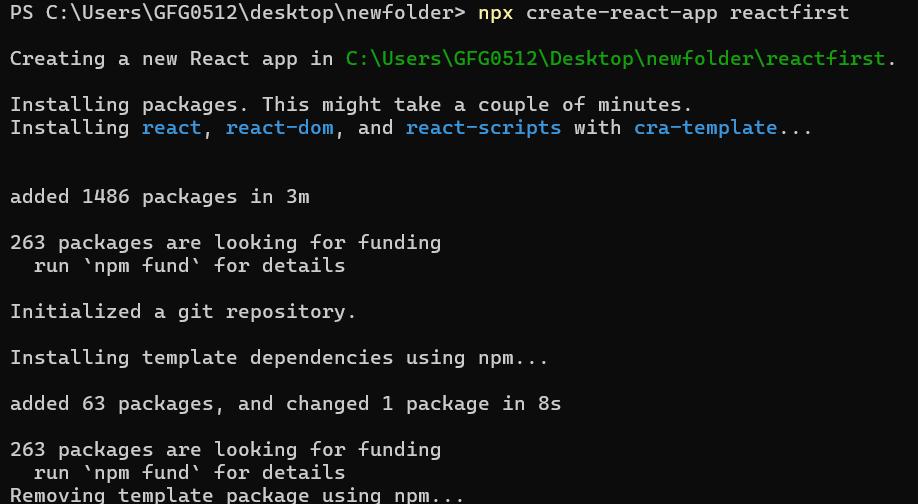
It will take some time to install the required dependencies
NOTE: Due to npm naming restrictions, names can no longer contain capital letters, thus type your app’s name in lowercase.

Step 6: Open the Project in Code editor
Now open the IDE of your choice for eg. Visual studio code and open the folder where you have installed the react app newfolder (in the above example) inside the folder you will see your app’s name reactapp (In our example). Use the terminal and move inside your app name folder.Use command cd reactapp (your app name)
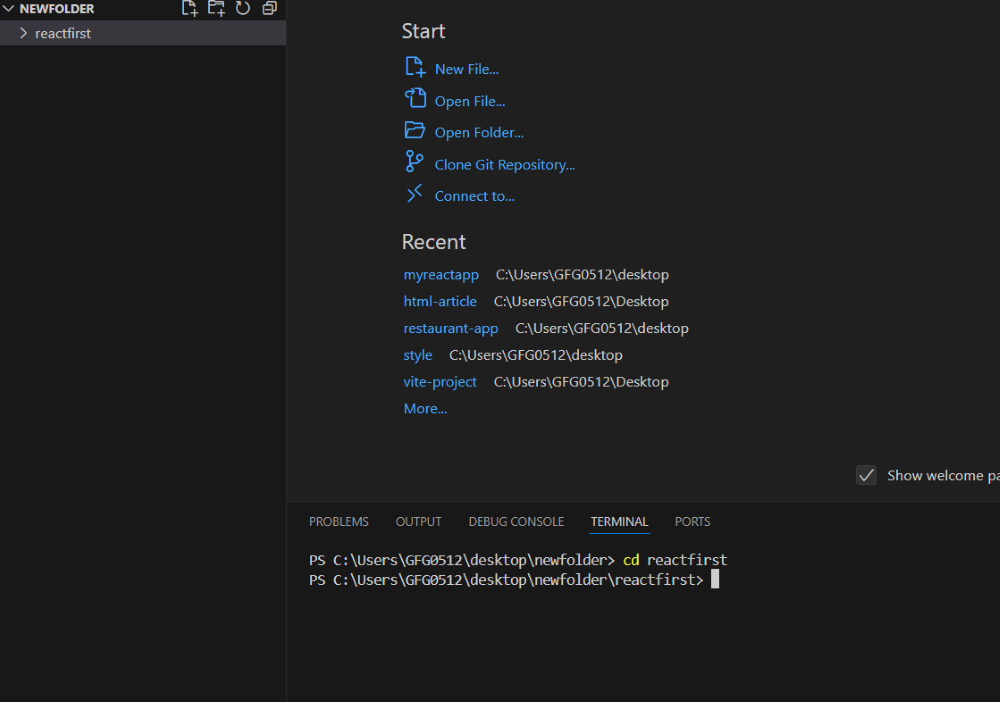
Step 7: Run the React App
To start your app run the below command :
npm start 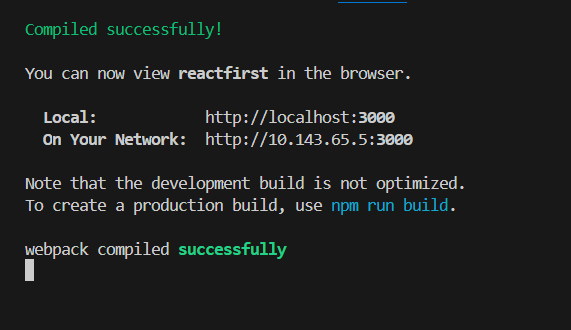
Once you run the above command a new tab will open in your browser showing React logo as shown below :
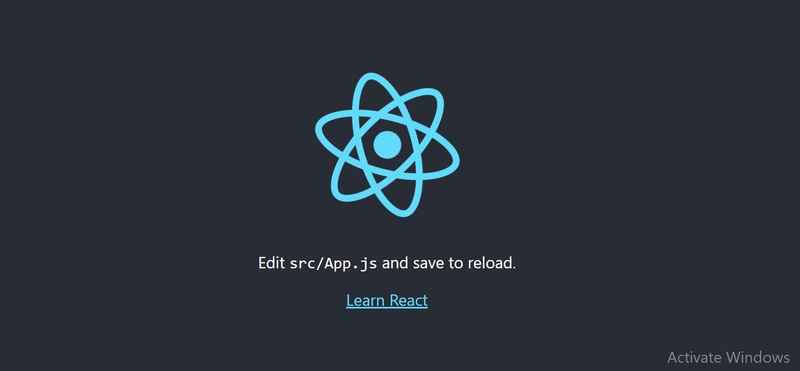
Congratulation you have successfully installed the react-app and are ready to build awesome websites and app.
Also Read:
Conclusion
By following the straightforward steps outlined in the article, You can easily install React JS on your Windows. With features like reusable components and easy debugging, React JS simplifies the development process making it a popular choice among developers worldwide.
Install ReactJS on Windows: FAQs
How to install React JS in Ubuntu?
- Install Node.js: sudo apt install nodejs.
- Verify Node.js installation: node -v.
- Install npm: sudo apt install npm.
- Install create-react-app globally: sudo npm install -g create-react-app.
- Create a new React app: create-react-app your_app_name.
- Navigate into the created app directory: cd your_app_name.
- Start the development server: npm start.

